Neutral Density Filters XL
-
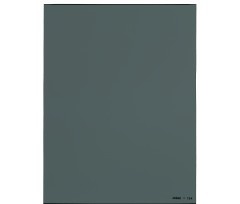
COKIN CREATIVE - Neutral Density...
Ref. X154€62.90Neutral density filters - X-large Size 130mm (X-Pro series)
-
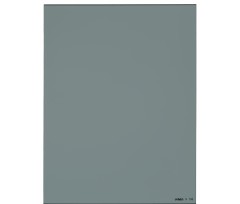
COKIN CREATIVE - Neutral Density...
Ref. X153€62.90Neutral density filters - X-large Size 130mm (X-Pro series) -
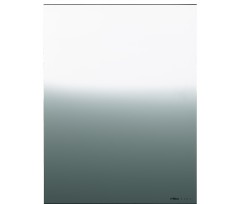
COKIN CREATIVE - Graduated ND filter...
Ref. X121S€63.90Graduated Neutral Density filter - reduce the quantity of light - X-large Size 130mm (X-Pro series)
-
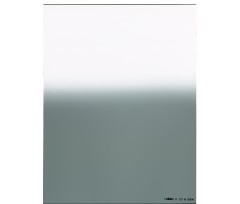
COKIN CREATIVE - Graduated ND filter...
Ref. X121M€63.90Graduated Neutral Density filter - reduce the quantity of light - X-large Size 130mm (X-Pro series)